Monday, August 12, 2013

Food in Seattle and Portland!

This summer, Rem and I traveled out west to visit Seattle, Washington and Portland, Oregon!  We did lots of sightseeing, walking, hiking, and ate wonderful food!  I could go on and on about all of the amazing things we did, and even have about 1,200 pictures to share (I can't wait to start scrapbooking this trip!), but in keeping with the theme of this blog, I'm going to focus on the food.  Being so close to the water, we made sure to eat lots of fresh, local seafood.  With all of the options available to us, I was even able to seek out many paleo/gluten-free friendly restaurants.  In Seattle, we rented an apartment with a full kitchen so we were able to do our own grocery shopping and prepare a lot of our own meals in the apartment.  It was so important to us to be able to do this, because I don't think either of our bodies could have handled eating out EVERY meal.  That being said, we also splurged a little at some well-known local joints that we could just not pass up!  

We stayed about a block from the famous Pike Place Market, Seattle's original farmer's market that was founded in 1907.  We walked around the market every day we were in Seattle.  It's just incredibly how much fresh, local food the market has.  There are also many artists who sell their work, and tons of beautiful, fresh flowers.  On a tour of the market, we learned about the history of the market and the fact a portion of the vendor fees goes towards supporting 4 different market foundations: a preschool, a clinic, a senior center, and a food bank.  How cool is that!  I would love to be able to shop there every day...  

A view of one small portion of the market.

Fresh fish at Pike Place Market!


We bought a whole, 5 lb. salmon at Pike Place!  We cooked this on our second night in Seattle.  Made a foil pouch for it, rubbed the salmon with a bit of coconut oil, salt, pepper, thyme, and placed some thinly sliced lemons on top.  Enclosed the salmon in the foil pouch and baked at 400 degrees for 20 minutes.  

On the side: Fresh green beans and mushrooms from Pike Place, with coconut oil, salt, pepper, and thyme.  Baked at 400 degrees for about 40 minutes.  

Our salmon, fresh from the oven.  This was the best fish I've ever eaten!  It literally melted in your mouth and was so fresh and flavorful.  
Mussels in a tomato and white wine broth at the Ballard Seafood Festival.  Rem also had alligator on a stick, but we forgot to take a picture!  
I had seen this restaurant recommended on the blog Nom Nom Paleo and had wanted to try it out, so when a local CrossFitter recommended it as one of her favorite restaurants in the area, that sealed the deal!  All of the food served here comes from within a 360 mile radius of the restaurant.  I was impressed by their commitment to sustainability and local food, as well as indications of the menu of which items are gluten-free!  The food here was absolutely incredible.  I would definitely go back for the food.  I wouldn't recommend going there if you're in a rush, however, because the service was very slow.  Oh well, we had nowhere else to be so we just dealt with it and enjoyed the food!

Super creamy deviled eggs!

Rootbeer glazed pork belly with baked beans.  All I can say is... wow!  Neither Rem or I had ever tried pork belly, and this one blew us away.  The top layer of fat was crispy and caramelized, followed by the melt in your mouth, smoky and sweet pork underneath.  I need to try to replicate this at home...

Rem got the Lamb with a Panzanella (bread) and stone fruit (peaches and cherries) salad.  I don't usually like lamb, but this one was to die for.  Tender and not too gamey.  Perfectly cooked.  

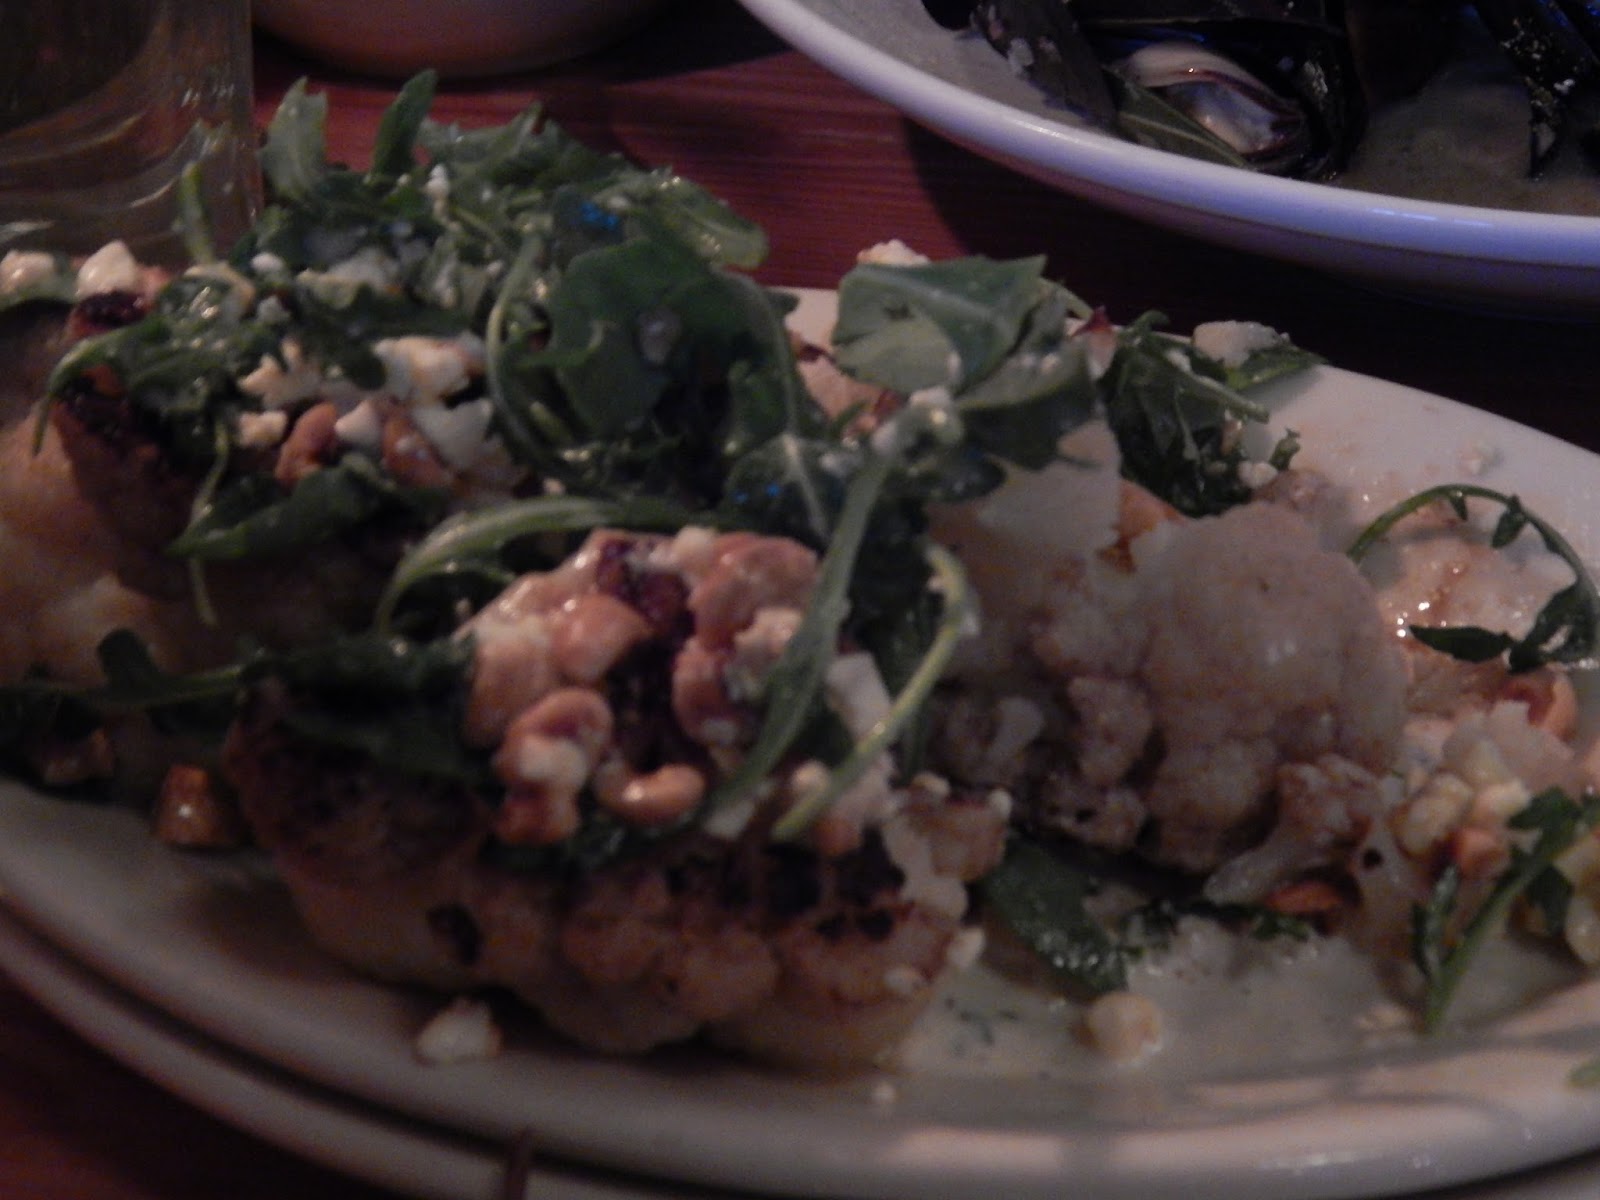
Rem wasn't a huge fan of this side dish but I was obsessed... Roasted whole head of cauliflower with flora cheese, hazelnuts, and arugula.  I don't normally eat cheese but I just couldn't pass this up.  The combination of sweet roasted cauliflower, creamy, melted, salty cheese and crunchy hazelnuts was just perfect!  

Sauteed greens with garlic.  Not the star of the show, but very good.  

Mussels with bay leaf, white wine, and fennel pollen.  Look at his portion size.  Holy mussels!

For dessert: "Turtle" caramel apple.  We passed by the window of the Rocky Mountain Candy Factory about 10 times earlier in the day, and the caramel apple were just calling our names.  We couldn't resist getting one after dinner!  Caramel, pecans, and dark chocolate... so good.  

Rem's leftover (supplemented by groceries from Whole Foods) breakfast: Salmon, eggs, sweet potato hash with green beans, zucchini and peppers.  

My leftover breakfast: Salmon, cauliflower with flora cheese and hazelnuts, greens with garlic. 

A journal in our apartment was filled with recommendations and musings from other tenants who stayed there.  Every single person recommended a Pike Place Market bakery called Piroshky Piroshky, saying it had the best pastries they had ever tried and it was a MUST do in Seattle.  Well, after much debate about how wrecked I would be after eating a gluten-filled treat, actually standing outside the bakery and taking in the aroma of those pastries made my decision easy.  Sometimes you just decide that "it's worth it."  Although the decision of what to try was tough, our decision to share the Cinnamon Cardamom Braid turned out to be an excellent one!  The whole pastry- the WHOLE THING- had the texture of the inside of a cinnamon roll.. gooey, melty, warm, cinnamony...     

Yum!
If you want to try a variety of restaurants and variety of dishes in a new city, check out the Happy Hours!  Appetizers are usually discounted, so you can get more bang for your buck!  On our 4th day is Seattle, out first stop was Elliott's Oyster house, which had 75 cent oysters!  Rem LOVES oysters, and I had never tried them, so we headed down to the water front to see what Elliott's was all about.  

We sat at the bar and got to watch the chefs shuck oysters!  Rem got to enjoy his fill of oysters because, well, let's just say I tried my first- and last- oyster that day!  It tasted like straight ocean water.  Apparently this is not a taste I enjoy.  


Our next happy hour stop was Japonessa, a sushi restaurant recommended by our Pike Place Market tour guide.  Conveniently, it was located 1 block from our apartment.  


Rem got the sushi!

I tried the ceviche: raw scallops, shrimp, and octopus with red onion, tomatoes, and lemon juice, served over crispy taro root chips.  Loved this dish!  


After leaving Seattle, we set off to hike in Central Washington and the Columbia River Gorge.  This time of year you can find fresh berry stands ALL OVER Washington and Oregon.  We stopped at one that had the biggest blueberries I've ever seen!  They were amazing!

After hiking for a few days, our next stop was Portland, Oregon.  As I researched prior to our trip, I had discovered a Paleo Food Cart in Portland called "Cultured Caveman," so we made a point to find it while we were there.  The food was delicious, and it felt good knowing we were eating something without an added preservatives or foods that would negatively effect our bodies.  


Mini Meatballs with Heart and Liver, served with Broccoli and Brussels Sprout Mash.  Very satisfying!  

Brazilian Pulled Chicken with Sweet Potato Mash.  Rem enjoyed this one a lot!

Gingered Carrot Kale Salad.  Fresh and light.  Great summer side dish!

Enjoying our paleo eats on a park bench.  
Yes, right after eating our paleo lunch we headed to the most non-paleo place you could imagine: Voodoo Doughnut.  One more place that we simply could not pass up.  It seemed to us like a "must do" while in Portland.


I guess that's what everyone else thought too... we waited in line for 40 minutes!  

No, this was not a healthy choice.  Yes, it was worth it!

"Triple chocolate penetration doughnut: chocolate cake doughnut with chocolate frosting and coco-puffs!"  Rem's choice.  The verdict: very tasty, but the coco-puffs were overkill.  

"McMinnville Cream doughnut: raised yeast doughnut filled with Bavarian cream with maple frosting on top and two eyeballs and a mustache."  My choice.  The verdict: I cannot put into words how good this was.  In a past life, maple glazed doughnuts were my favorite and anything with cream filling was a no-brainer.  I channeled my inner "fat kid" as I savored this...  Turns out when you don't eat sugar or gluten (or at least in my case), treats with sugar and gluten are very overwhelming to the taste buds.  So luckily, a few bites was enough to satisfy!
Another restaurant I had researched before coming to Portland was "Dick's Kitchen."  I was attracted by the grass-fed beef, but literally everything we tried was wonderful.  I cannot recommend this place enough!

Venison lentil chili.  

Naked grass-fed burger served with coleslaw.

A variety of house made dipping sauces: ketchup, bbq sauce, chipotle mayonnaise, roasted garlic mayonnaise, thai vinaigrette.

Baked sweet potato fries.  Amazing, especially dipped in our sauces!

Yummy veggie salad with grilled chicken.  


Thursday, August 1, 2013

Peach Cobbler (no gluten, no sugar)


I'm slightly obsessed with small bowls and spoons.  I love eating out of them and with them, and I especially love baking in these "cocottes"!  They're tiny crocks that hold about 1 1/2 cups.  I haven't made anything in them for a while now, but last night I seized the opportunity to make some mini desserts!  Our produce share from our CSA this week included fresh, ripe, organic peaches!  So yummy!  Well it's hard to eat that many fresh peaches before they go bad, so I asked Rem what kind of "baked good" sounded good with peaches.  Peach cobbler was his answer!  Fast forward to 1 1/2 hours later, and the house was filled with the wonderful smell of fresh peaches baking.  

I made this recipe in 4 small crocks, but you could also use ramekins.  Or, you could double the recipe and bake it in a 8x8 baking dish or a pie dish.  You could also use another type of fruit, such as apples, pears, or berries.  This recipe is already gluten and sugar-free, but you could also make it dairy-free by using coconut oil and coconut milk instead of grass fed butter and milk.  I hope you enjoy this comforting cobbler as much as we did!


Peach Cobbler

Adapted from Paleo Comfort Foods


6 ripe, organic peaches, peeled and cut into small pieces
1/4 c coconut flour
90 g pecans, finely chopped (if you don't have a food scale, measure out about 1 cup of whole pecans, then finely chop them)
1 tsp baking powder
1 T cinnamon
1/4 c melted, grass fed butter (you could also use coconut oil- I actually used about 1/8 cup butter and 1/8 c coconut oil because I didn't have enough butter)
1/4 c whole, grass fed milk OR 1/4 c coconut milk
1/2 tsp vanilla extract

1. First, melt your butter or coconut oil.  Use a bit of it to grease 4 mini crocks or ramekins (dishes that hold about 1 1/2 cups).  Let it cool a bit while you prepare the rest of the ingredients.  
2. Peel and dice your peaches, then divide them evenly into the crocks.  
3. Chop pecans.
4. Combine pecans, coconut flour, baking powder, and cinnamon in a large bowl.  
5. Pour melted butter into dry mixture, then add the milk and vanilla.  Stir the entire mixture together.  It seems thin at first but thickens up quickly!  You will end up with a thick mixture that you can scoop onto the peaches.
6.  Divide the topping evenly among the crocks, spreading it smooth on top of the peaches.
7.  Bake at 350 degrees for 1 hour. 
8.  Eat warm!  Save any leftovers, covered, in the refrigerator.  


Sunday, July 28, 2013

Cilantro Mayonnaise

Homemade mayonnaise is one of my favorite things to make lately, and I've come up with an even tastier version!  This recipe was an attempt to replicate the famous Cilantro Sauce at the Venezuelan restaurant El Arepazo.  While I was not successful in making a sauce that tastes just like theirs, my sauce has similar flavors and is creamy, fresh, and particularly fantastic with salad, raw veggies, burgers, fish, and chicken.  It's especially easy to make now that we are growing an abundance of cilantro in our front flower beds! 


Cilantro Mayonnaise


2 eggs at room temperature
2 T fresh lemon juice 
1 tsp dried mustard powder OR dijon mustard
1 c light olive oil

1/2-3/4 cup fresh cilantro (no need to chop it up- just tear the leaves off of the stems)
1/2 large avocado
1/4 tsp salt
freshly ground pepper
a few shakes of cumin
a few shakes of cayenne pepper

Blend egg, lemon juice, mustard powder/mustard with immersion blender (or in food processor) until frothy.  Then slowly, drop by drop, add the light olive oil as you continue to blend.  Add oil slowly until it is all added, blending the whole time.  Continue to blend after you've added all of the oil until the mayonnaise has thickened, coating the head of the immersion blender.  Then add avocado, cilantro, salt, pepper, cumin, and cayenne.  Blend again until smooth.  Store in the refrigerator for up to 5 days.  
 

Tuesday, July 9, 2013

Melt-In-Your-Mouth Crockpot Whole Chicken


I made this chicken yesterday and was absolutely thrilled with the results!  Basically, I had a whole, thawed chicken in the refrigerator and wasn't sure what to do with it.  Rem makes some awesome beer can chicken and rotisserie chicken on the grill, but since I do not possess his grilling skills, I had to decide on some kind of indoor cooking method.  I had never tried a whole chicken in the crockpot so I gave it a stab and it was SO easy and SO good!  The only caveat is that the chicken skin does not get as crispy as when it is grilled or roasted in the oven.  But, slow cooked in the crockpot, the chicken gets so tender that it falls off the bone.  It literally does melt in your mouth!  I don't think I've had more tender chicken in my life!  I highly recommend this recipe for it's simplicity and superb taste.  

Melt-In-Your-Mouth Crockpot Whole Chicken

Originally from Paleo Slow Cooking by Chrissy Gower

1 fresh Bell and Evans Whole Chicken (3-5 pound chicken)
1 T coarse kosher salt
1 T freshly ground black pepper
1 T seasoning of choice (I used an Italian seasoning mix with garlic, basil, marjoram, thyme, and pepper)

1. Rinse chicken and remove giblets from the inside cavity if there are any.  
2. Dry chicken thoroughly and place in crockpot breast side up.  
3. Rub chicken (the whole outside as well as the inside cavity) with salt, pepper, and other seasonings.
4. Turn the crockpot to HIGH and set the timer for 5 hours (anywhere from 4-6 hours should work as well).
5.  No need to stir or do anything while the chicken cooks!  After 5 hours, your chicken will be ready to go. You'll know it's done because the chicken will be falling off the bone.
6.  Remove chicken from crockpot and place on cutting board or large plate  Separate into pieces for serving.  You probably won't even need a knife because the chicken is so tender that you can separate it into pieces with your hands!  

This chicken is delicious on it's own, served with some veggies on the side, but here are some other ideas for what to do with it:
1. Shred chicken with your hands and use as the base for your favorite chicken salad.
2.  After removing the chicken from the crockpot, strain the liquid that remains in the crockpot, getting rid of any solid pieces.  Pour the strained liquid back into the crockpot.  Shred the chicken and add it back to the crockpot.  Make your own chicken soup by adding some more water or chicken stock, vegetables, and cooked rice/quinoa/brown rice noodles.  Heat on low until the veggies are cooked through.

Monday, July 1, 2013

Paleo Stuffed Mushrooms

So far this summer we've had several potlucks and get-togethers with friends, and this dish (along with raw veggies) is one we have been taking to those events!  For the first potluck I decided stuffed mushrooms would be a great app to share with friends and then set about creating this recipe for stuffed mushrooms.  We had a bunch of fresh oregano from our CSA, and I knew I wanted to use ground beef as the basis for the filling.  Mushroom and garlic make everything better, and I thought the roasted red peppers would add a nice pop of color and flavor.  Because I don't eat gluten, I thought almond meal would be a good alternative to the traditional breadcrumbs used to thicken a meat mixture like the one I used to stuff these mushrooms.  With these ideas in mind I created this yummy filling for the mushroom caps.  I was extremely happy with the way these mushrooms turned out and have made them several times since creating the recipe!  The first time I made them, I used 2 lbs. of ground beef and had a ton of leftover "filling" mixture, so I used it to make meatballs!  The meatballs were fantastic!  I just formed the meat mixture into golf ball sized balls, placed them on a broiler pan, and baked at 350 degrees for 30-35 minutes.  


Paleo Stuffed Mushrooms


3 pints of baby bella mushrooms
coconut oil to grease pan
1 small white or red onion, minced
3 cloves garlic, minced
1/4 c fresh oregano, chopped
1/4 tsp dried thyme
1/4 tsp dried basil
1/4 tsp crushed red pepper
1/4 tsp salt
1/4 tsp pepper
1 lb. grassfed ground beef
2 roasted red/yellow peppers (I use a few pieces of the jarred kind), minced
1 egg
1/3 almond meal

1. Grease 13x9 glass baking dish with coconut oil.  Also put some coconut oil in a medium saute pan.
2. Wash mushrooms and carefully remove stems.  Mince stems.  Place mushrooms caps in glass dish.
3. Mince onion, garlic, and oregano.
4.  Heat saute pan over medium heat.  Add mushrooms stems, onion, garlic, oregano, dried basil, dried thyme, crushed red pepper, salt, and pepper (in the recipe I said "1/4 tsp" of each, but I really don't measure it, I just sprinkle "some" of each spice on top of the veggies).  Saute until mushrooms and onions are soft.
5. Meanwhile, chop roasted red peppers and add to large mixing bowl.  Also add: ground beef, egg, almond meal, and a light sprinkling of: more oregano, dried basil, dried thyme, crushed red pepper, and pepper.
6.  After onion and mushroom mixture is done cooking, add to the ground beef mixture and mix well with hands.
7.  Form meat mixture into small balls (about half the size of a golf ball) and place into mushroom caps.
8.  Bake mushrooms, uncovered, for 30-35 minutes at 350 degrees.
9.  Once mushrooms are done, remove from glass dish with tongs and place on serving tray or in another dish (so that they are not soaking in the fat).
10.  Serve hot!

Saturday, June 22, 2013

Homemade Almond Butter

We like almond butter... a lot.  So when Trader Joe's began having a shortage on their almond butter, I decided to make my own!  It tastes completely different than any store bought brand I've had, and I love it.  It has a different consistency (much thicker and less runny) and a fresher taste, plus I put cinnamon in mine which adds some depth of flavor.  

Don't get me wrong, I still love Trader Joe's almond butter... evidenced by the fact that I went EXTRA early one day this week and bought 8 jars :)  You see, lately they have been getting a small amount each day, so there's a limited supply that's gone by mid-day.  I went at 8 am when they opened to make sure they wouldn't be out!


Either way, homemade almond butter is amazing and something you should definitely try to make if you have a food processor or high powered blender.  Even though we have a large stock of Trader Joe's almond butter, I will still be making the homemade kind because it's just that good!!


Homemade Almond Butter

2 cups raw almonds
1/2 tsp cinnamon
a few pinches coarse salt

1. Get out your food processor.  I use a kitchen aid 5 cup food processor, so the directions that follow are what works for this food processor.  If you have a different food processor or a vita mix, your method may vary.  Just search for "homemade almond butter" and you will find lots of resources out there.  

2. Put 2 cups of raw almonds in the food processor.  We buy big bags of raw almonds (with the skin on) from Sam's club, and they work really well!  We store our almonds in the fridge, and in my experience, cold almonds work especially well for making almond butter.

3.  Turn the food processor on and process for about 2 minutes, or until you hear the blade whirring but not actually mixing anything.  At this point the almonds should be finely ground, and will probably have built up on the sides of the food processor.  Use a knife or the handle of a rubber scraper to push the meal off the sides of the food processor (and off of the bottom if necessary) and then turn the food processor on again.

4.  Continue to mix in 1-2 minute increments, turning the food processor off after 1-2 minutes and scraping anything that has clumped up on the sides and bottom.  Clumping is exactly what you should expect.  Just break it up with your knife or rubber scraper handle (don't forget the sides AND the bottom of the food processor) and distribute the mixture somewhat evenly in the food processor and continue to process in 2 minute increments.  

5.  The whole mixing process will take around 15-20 minutes, so don't worry if it doesn't seem like your almonds are making any progress!  They will!  It's kind of like magic at the end... you'll go for a while and think that nothing is happening, then all of the sudden- almond butter!  

6.  Eventually, the mixture will start to ball up, which means it's getting close to being creamy.  Continue your process of scraping the sides and bottom and distributing the mixture one more time.  

7.  The mixture will ball up again, and this time just let the food processor keep running, because the ball will "fall" and that's when the mixture will start to get creamy.  The inside of the food processor may also start to have some condensation and become hot.  This is normal!  

8.  Once the mixture is creamy and being whirled around the food processor evenly, add about 1/2 tsp cinnamon and a few pinches of coarse salt, and continue to process for about 1 minute.  

9.  Scrape the almond butter into a glass jar (don't use plastic) with a lid. 

10.  I know this will keep for up to 3 days, and would imagine it would be fine for around 2 weeks, but I doubt you will need to worry about that because I guarantee you will eat it all long before 2 weeks rolls around!

Wednesday, June 19, 2013

Fresh from the Farm!


This summer we decided to buy a CSA share from Wayward Seed, a local farm.  Each week for about 25 weeks we'll get fresh-picked, organic vegetables and fruits from the farm!  We got our first share last week and it definitely exceeded our expectations!  Everything we got was fresh and absolutely delicious.  It was fun to try out new recipes using some ingredients we don't normally use!  Here's a rundown of what we got and some ways we used it this week:

Napa Cabbage:

  • Used the outer leaves instead of romaine lettuce with the Turkey Lettuce Wraps.  
  • Chopped up the inner leaves to make Bobby Flay's Napa Cabbage Slaw- so delicious!  I changed the recipe a bit apple cider vinegar instead of rice vinegar, sesame oil and about 1/2 tsp crushed red pepper instead of the chili oil, and fish sauce instead of the soy sauce.

Arugula

  • We basically just ate this with our meals instead of spinach this week.  Makes for a tasty salad with any meat or veggies.

Butter Lettuce

  • My favorite salad I made this week was: butter lettuce (lots), roasted spaghetti squash (about 3/4 c), baked chicken thighs (4 oz), avocado (1/2), and a dressing with about 1 T olive oil, 1 T lemon juice, and a generous amount of salt and pepper.  

Fresh Oregano

  • I made a chicken marinade using 1/3 c olive oil, juice of 1 lemon, 4 cloves minced garlic, 1/2 c chopped fresh oregano, 1/2 c chopped fresh parsley, 1/4 tsp salt, 1/4 tsp pepper.  Then I marinated 4  fresh boneless skinless chicken breasts in that marinade for 24 hours.  After 24 hours I placed the chicken in a glass baking dish and made sure to cover it with all of the marinade (the marinade is very herby and thick, so you have to kind of scoop some of it onto the chicken with your hand).  Baked it, uncovered, at 400 degrees for 30 minutes (check to make sure the juices run clear).  

Kohlrabi

  • Kohlrabi has somewhat of a "sharp" taste, kind of like radishes.  It's crunchy and refreshing.  We washed it, cut it in half, peeled off the outer skin, then sliced it into thin chunks and ate for a snack or chopped on salads.

Snap Peas

  • We ate these whole, chopped and put in salads, and added to stir fry.  

Strawberries

  • These were some of the juiciest, sweetest strawberries I've had in a long time.  They were so delicious just raw!
  • One day I decided to get creative... I microwaved about 6 strawberries topped with 2 T coconut butter (not to be confused with coconut OIL- don't use coconut oil) for about 30 seconds.  It was heavenly...  Rem ate strawberries on top of his oatmeal each day!   

Green Onions

  • I used these in the Napa Slaw.  

Garlic Scapes 

  • To prep these guys, I just washed and cut them into about 1/8 in long pieces.  Several times this week I made an egg hash with them.  I put coconut oil in a pan or medium heat, added scapes, mushrooms, peppers, and zucchini.  Then I stirred and cooked them until soft, cracked 3 eggs on top, and sprinkled with salt, pepper, and garlic powder.  I cooked the mixture until the eggs were no longer runny.  

Do you have any good recipes for summer fruits and veggies?  Please share by responding to this post!